I'm a huge history buff and I occasionally (ok more than occasionally) surf the web for facts and history. Well I came across a picture of King Tutankhamen wearing a square head piece.

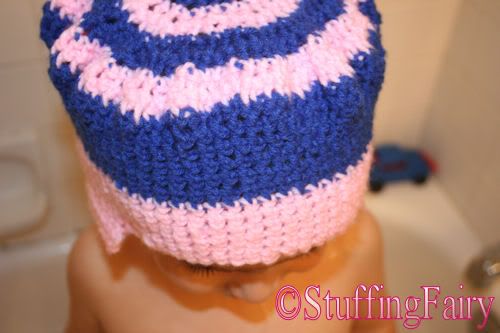
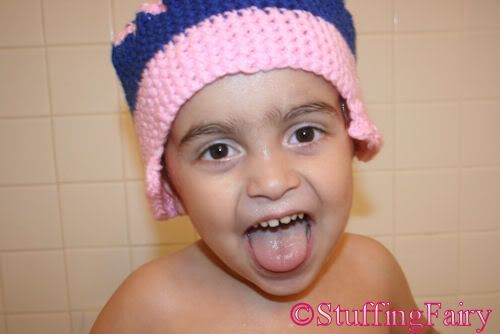
I guess this inspired me to create a "squarish" hat for my son. He has a really big head for a four year old, so this hat fits me too haha! =D He has been begging for a pink hat for a few days now... So I did it in pink and blue lol.
I'm going to try to make this pattern extremely simple to follow, because I believe that you should just go crazy with it and do what you want. If you follow a pattern to perfection, it's just not your own you know? So here we go.
*Abbreviations*
Ch: Chain
Sc: Single crochet
Hdc: Half double crochet
Ss: Slip stitch
F/O: Fasten off
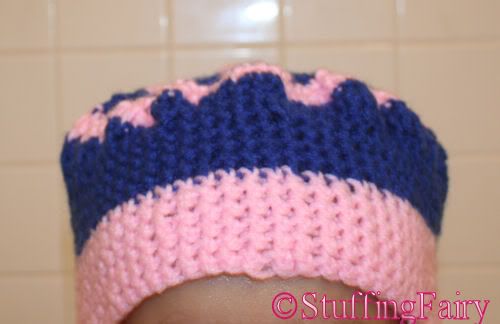
I used pink and blue yarn.
Pink
Ch 2, magic circle. Sc twice in each until two rows are completed. Ss at the beginning of each and every new row, so that it stays even. Follow my pattern for each upcoming chain below.
2 sc's, 1 sc, 2 sc's, 1 sc.
Blue
Continue in a circle for two rounds. Ss at the end!
Pink
Continue in a circle for two rounds. Don't forget to Ss at the end!
Blue
Repeat
Pink
Repeat
Blue
ok so by now, you should have a pretty weird looking circle with lots of bumps. Dec every few sc's by skipping a few for a first two rounds of blue. Instead of switching to pink, we're going to continue until we reach 6 rows of complete blue.
Pink
Your hat should have begun to come down now. Continue the blue with 6 rounds of pink. F/O.
Side panels: I just grabbed the pink yarn and just chose a spot on the hat and began to hdc 14. I love hdc, don't ask me why but I just love it and use it in every pattern obviously. If you're not familiar with it, there are helpful tutorials all over the web. I can help too though, if you need it. =P So after you hdc 14, ch 1 and turn, hdc 14 more. Ch 1, turn, hdc 14 more. F/O. Now place your hat flat down with the side panel you just created in the center. Directly behind it, place your markers for the other side panel. Do exactly as you did for this panel and F/O.
I took the pics of him in the bathtub so I could post up quick!
King Tut image courtesy of smh.com.au


No comments:
Post a Comment